Avowed's Wael's Totem Guide: Unlocking Secret Power in Shatterscarp
Discover the definitive 2026 guide to Wael's Totem of Revelations in Avowed, unlocking early-game power and secrets in Shatterscarp's wilds.
In the vast, untamed lands of Shatterscarp, a hidden path to power lies scattered, waiting to be pieced together by the determined. For those seeking to bolster their strength without the endless grind for weapon upgrades or the steep cost of better gear, the ancient Totems of Avowed offer a compelling solution. Among these, Wael's Totem of Revelations stands out as a particularly rewarding and accessible early-game boost, a secret whispered among the cliffs and ruins. Collecting its scattered fragments is like assembling a forgotten constellation—each piece a star that, when united, illuminates a new facet of your potential. Here's the definitive 2026 guide to finding every piece and claiming your reward.
🗺️ Step 1: Acquiring the Clue Map
Your treasure hunt begins not in a dungeon, but in a tavern. Head to Thirdborn and find the merchant Cinzia inside The Dead Swordfish establishment. This spot is conveniently located across from the fish and bounty boards, and is also where you recruit Yatzli during the main story. Cinzia's inventory holds the key: purchase the item called "Fragments of the Eyes." This isn't just a map; it's the first whisper of the puzzle. While you're there, browse her unique wares—the Trickster's Cuirass is a standout, though your current armor might already be superior.
🔍 Step 2: The Fragment Hunt - A Piece-by-Piece Walkthrough
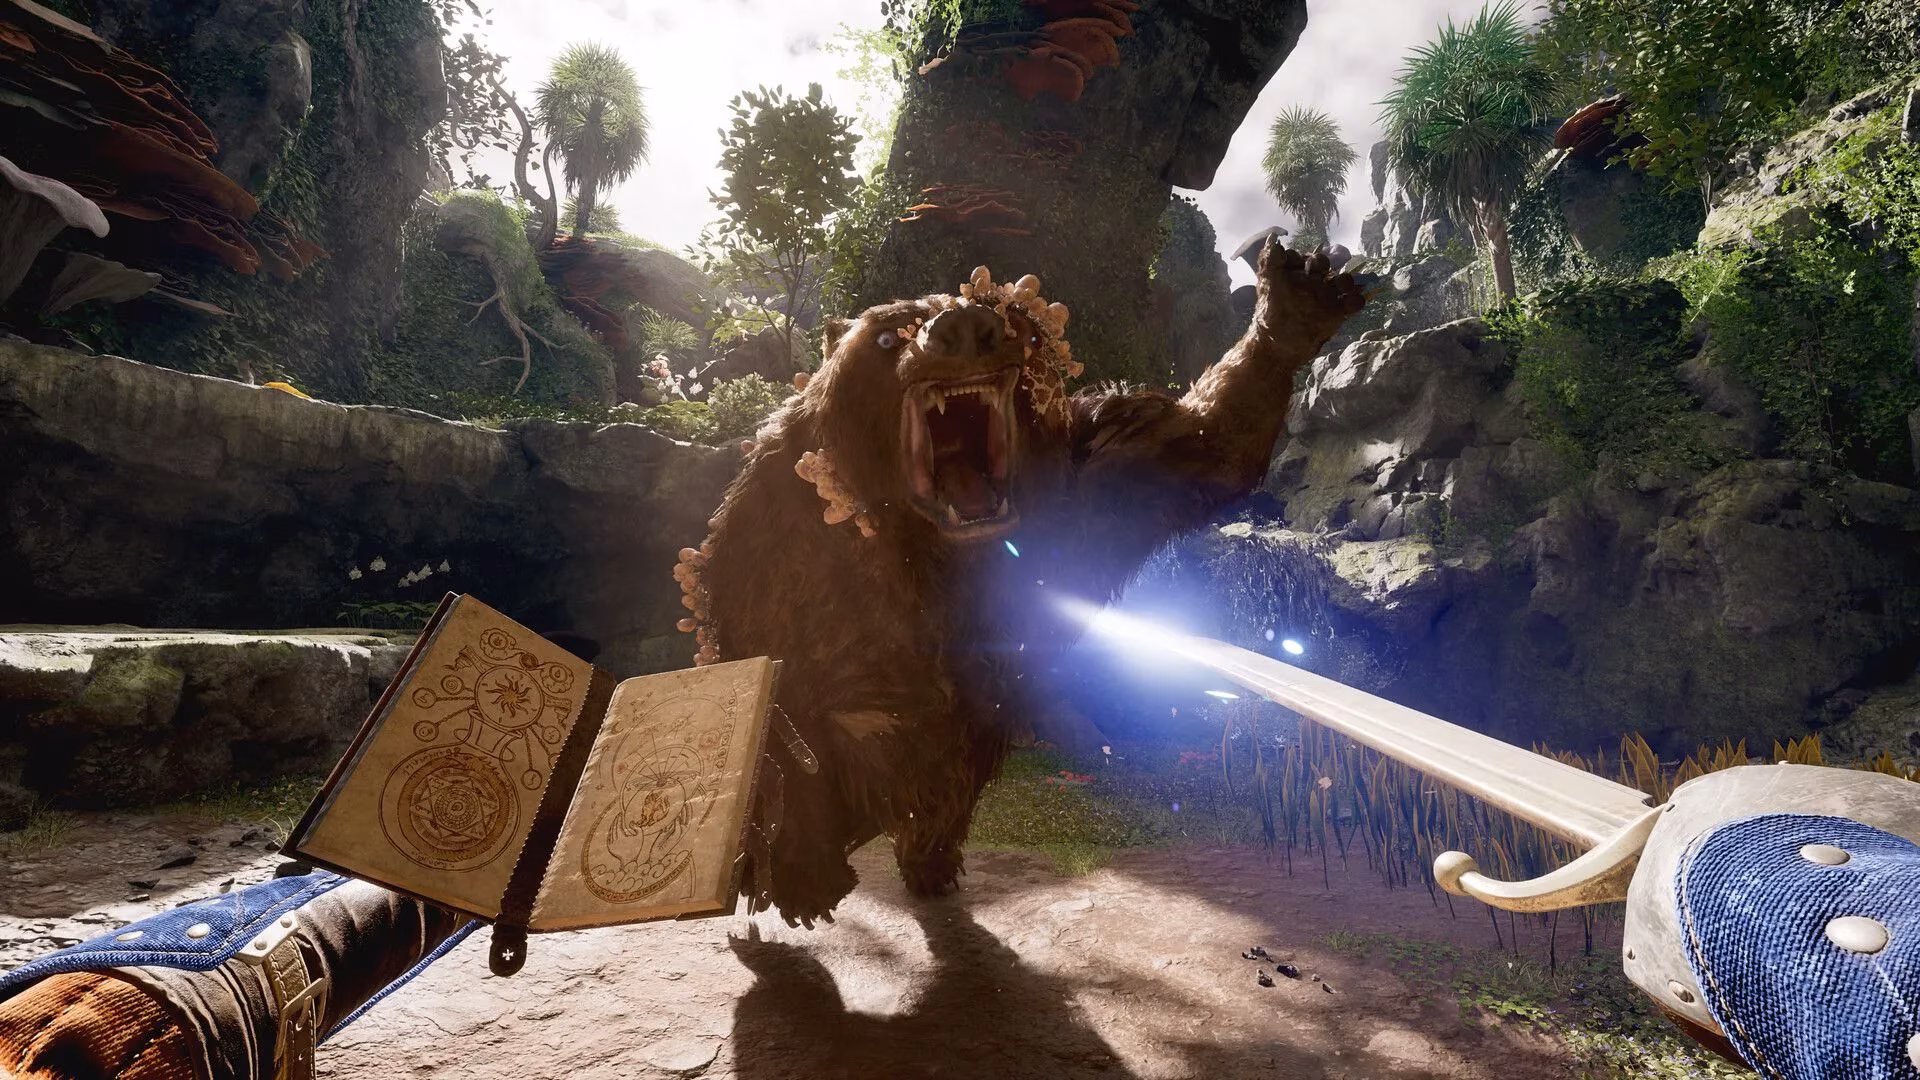
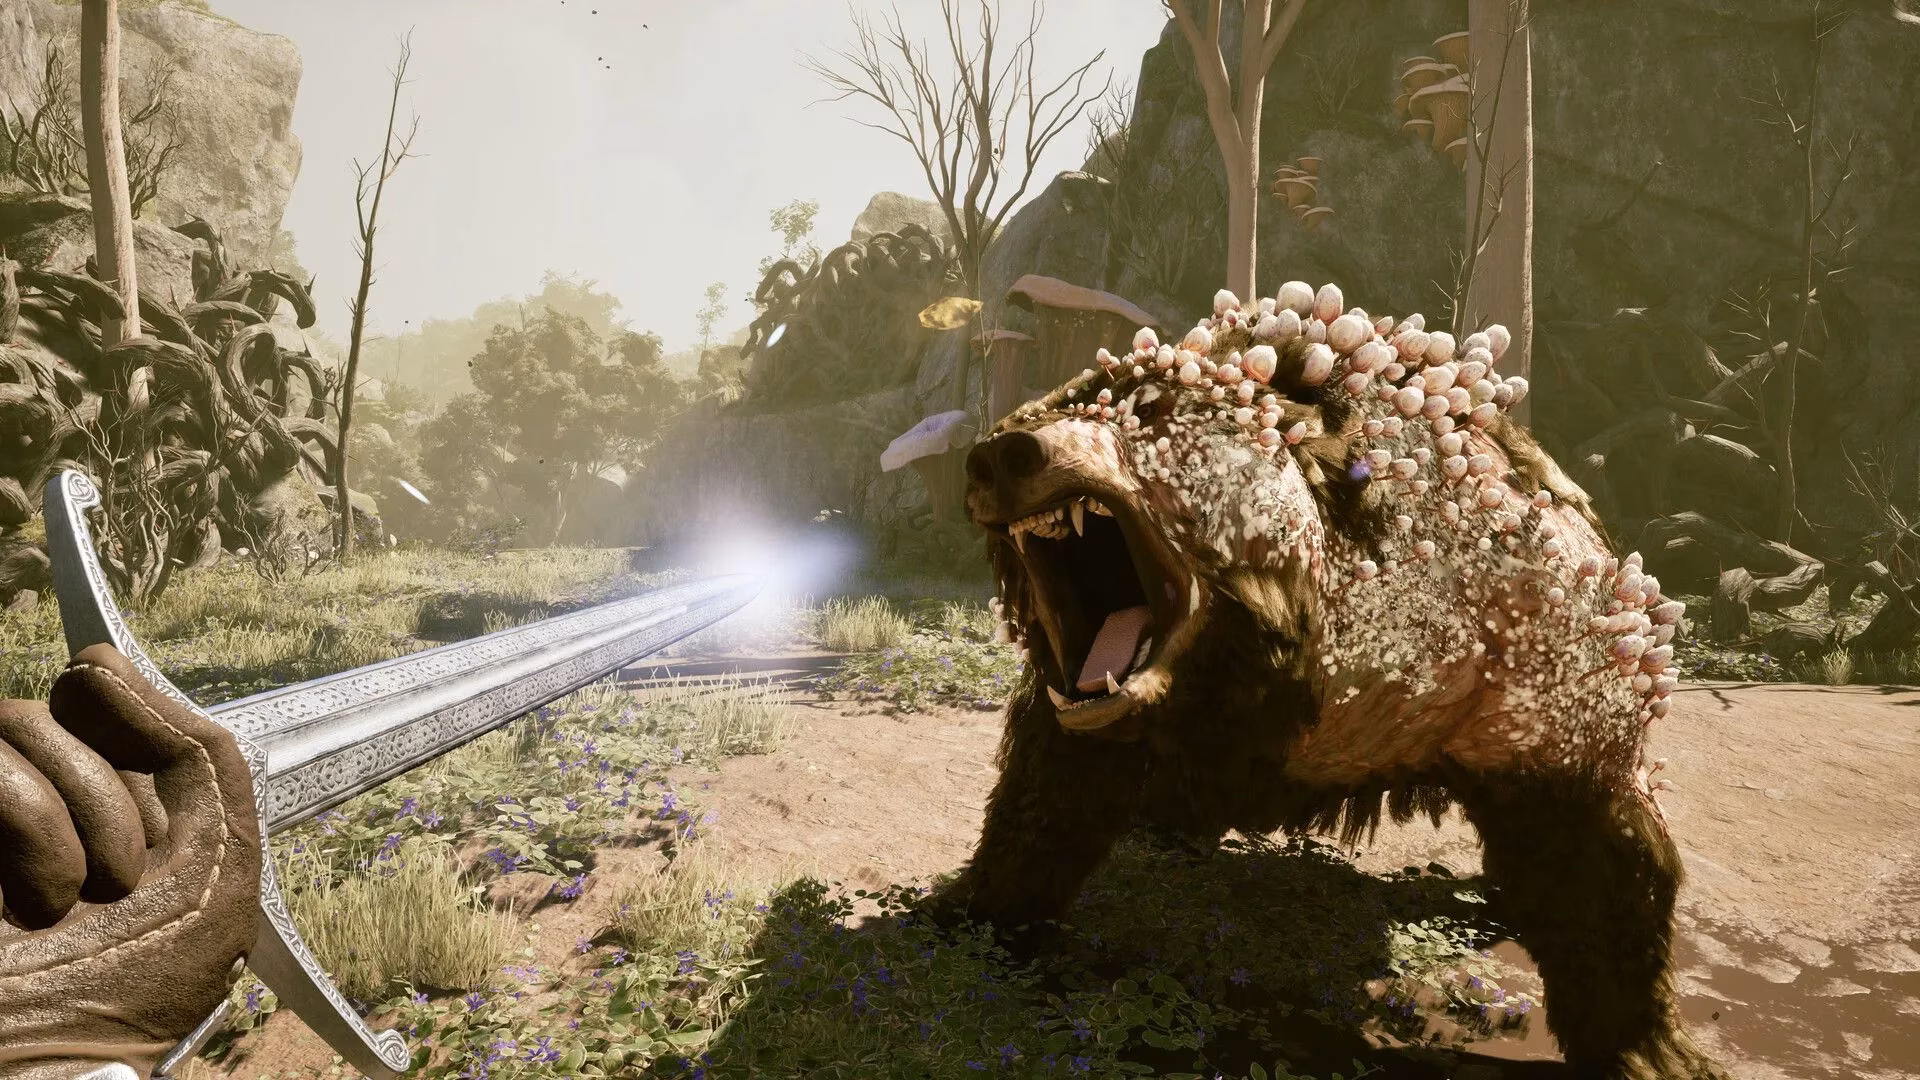
With clues in hand, the real adventure begins across six distinct locations. Think of each fragment as a unique key, hidden in environments as varied as sunken lakes and skeletal ruins.
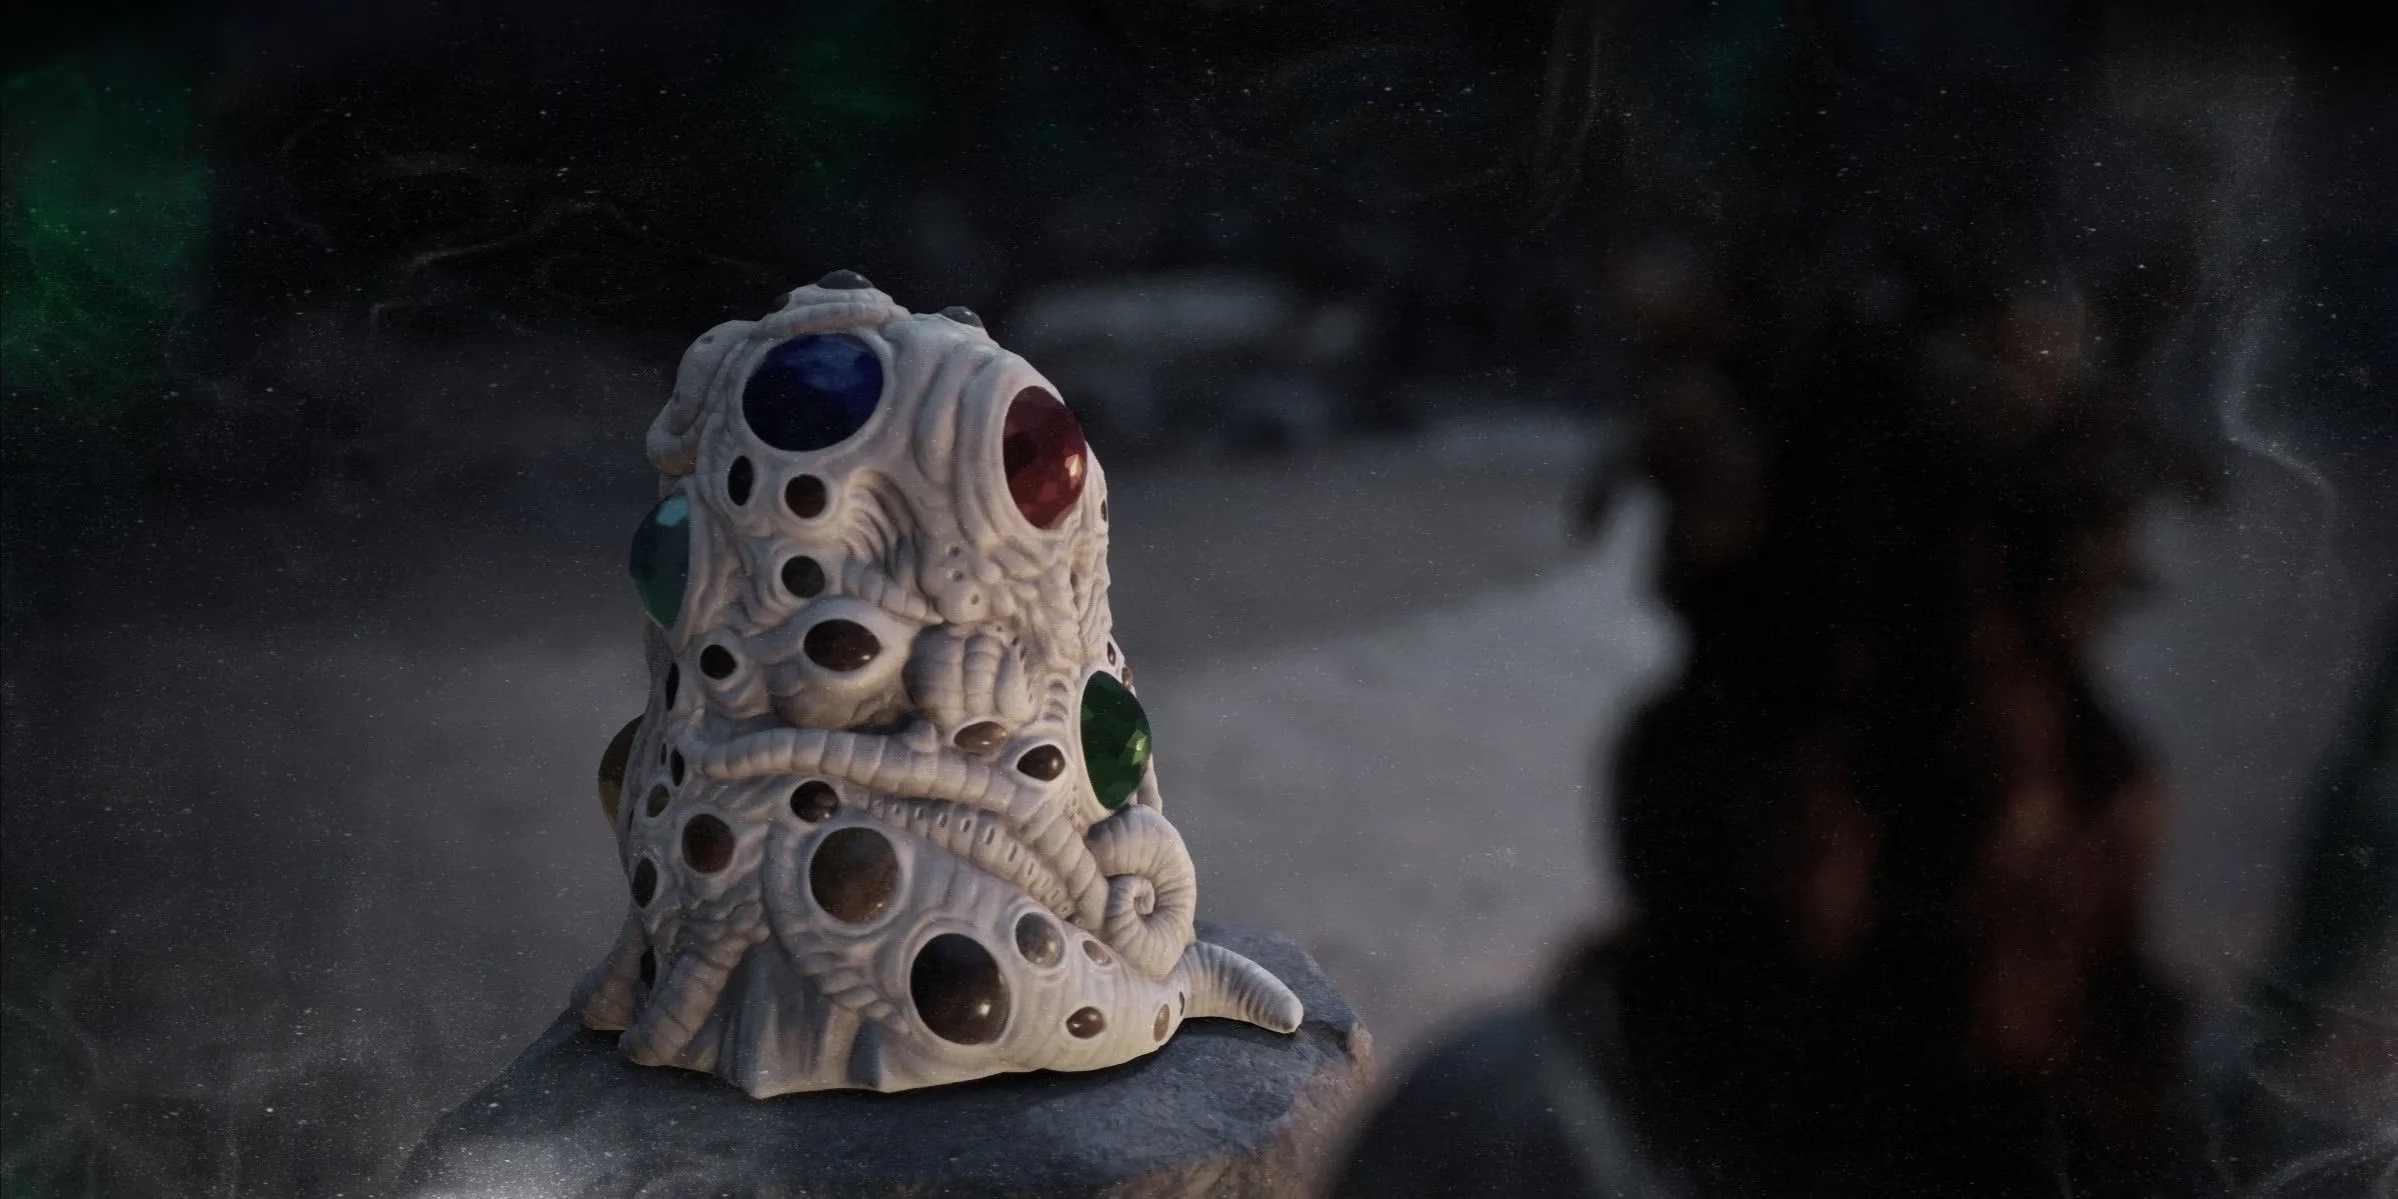
1. Wael’s Totem Base & Ruby Eye - Shrine of Wael
Journey to the southwest map region to find the Shrine of Wael. Stick to the coastline before scaling the cliffs to the shrine entrance. Inside the main chamber with the totem base, a clever trick awaits: freeze the cell bars to reveal a chest behind them for an early gear bonus. Facing away from the totem, take the left path upward. At the cliff's edge, you'll meet the Ward of the Eye. A simple conversation grants you the Ruby Eye.
💡 Pro-Tip: SAVE YOUR GAME here. Descending the cliff leads to a brutal bounty fight with no auto-save. Dying means repeating the climb and conversation—a frustrating backtrack best avoided!
2. Amethyst Eye - Ancient Lakebed
Traveling north from the Thirdborn Party Camp toward the First Contact with the Enemy quest, keep an eye out for a cave entrance easily missed. Look for scattered corpses as a marker. Enter and follow the cavern, watching for distinctive orange glowing lines that guide you to the Amethyst Eye, resting like a forgotten jewel in a dragon's hoard.
3. Topaz Eye - Leviathan’s Hollow
This fragment is tied to the First Contact with the Enemy questline. Clear the enemy camps outside the massive cave marked by a giant lizard skull mouth. Dive into the water, swim inside, and prepare for a surprisingly tough fight—this isn't a gentle introduction to side content! After clearing the initial cave chamber, head left up the balconies. A smaller group guards a path that loops around the top of the main room. Here, you'll find the Topaz Eye alongside Manu's Badge, killing two birds with one stone.
4. Emerald Eye - Shark’s Teeth
Locate the Shark’s Teeth Party Camp. From there, cross the intact bridge to a statue engulfed in scaffolding. Don't complicate it—just climb. At the statue's peak, the Emerald Eye awaits. Your reward is a panoramic view and a convenient location: the main quest beckons on one side of the camp, a bounty on the other.
5. Agate Eye - Sand Sea Ruins
This one requires a keen eye. Approaching the main ruins from the north, look to your left at a smaller set of ruins. A path guarded by a few foes leads to climbable scaffolding, your secret entrance. Inside, you'll find a breakable floor. Drop to the second level down, not the first. Navigate the winding path from there to claim the Agate Eye, its discovery feeling like solving a silent riddle etched in stone.
6. Sapphire Eye - Sand Sea Oasis
Head to the southeasternmost point of the region, near the area's beacon. Just past it lies a tranquil oasis pool. Dive in and explore the depths—the Sapphire Eye is tucked near the bottom at the pool's far end, shimmering faintly like a drowned star. With this final piece, the set is complete!
🎁 Step 3: The Grand Reward
Return to the Shrine of Wael with all six eyes. Inserting them into the Totem Base and activating it grants a permanent stat boost that benefits any character build. In the world of Avowed, this reward is a game-changer, providing a significant edge as you face greater challenges. It's a testament to the power of exploration, a bonus earned not by coin or craft, but by sheer perseverance across Shatterscarp's beautiful, brutal landscape.
📌 Quick Reference Checklist
| Fragment | Location | Key Landmark / Tip |
|---|---|---|
| Base & Ruby Eye | Shrine of Wael | Talk to the Ward of the Eye on the cliff. SAVE FIRST! |
| Amethyst Eye | Ancient Lakebed | Cave near corpses, follow orange lines. |
| Topaz Eye | Leviathan’s Hollow | Loop path at top of main cave after a tough fight. |
| Emerald Eye | Shark’s Teeth | Climb scaffolding to top of the statue. |
| Agate Eye | Sand Sea Ruins | Enter via left ruins, drop to 2nd floor down. |
| Sapphire Eye | Sand Sea Oasis | Dive in oasis pool near SE beacon. |
Embarking on this quest is more than a fetch mission; it's a curated tour through some of Shatterscarp's most iconic and dangerous locales. The reward is a powerful, permanent augmentation to your character, making the journey not just worthwhile, but essential for any aspiring adventurer looking to leave their mark on the Living Lands. Happy hunting! ✨